Open API UI Framework 介紹:Swagger 與 ReDoc
今天想要跟大家介紹後端工程師與前端工程師互相溝通的文件,我們常見的是 Swagger,不過今天還要介紹大家另外一套 ReDoc,整個 UI 跟 Swagger 相比是另外一種截然不同的風格。
Quick Start
由於 ReDoc 是基於 json file 產生的,因此我們先使用 swagger2markup 套件,再使用上 ReDoc。
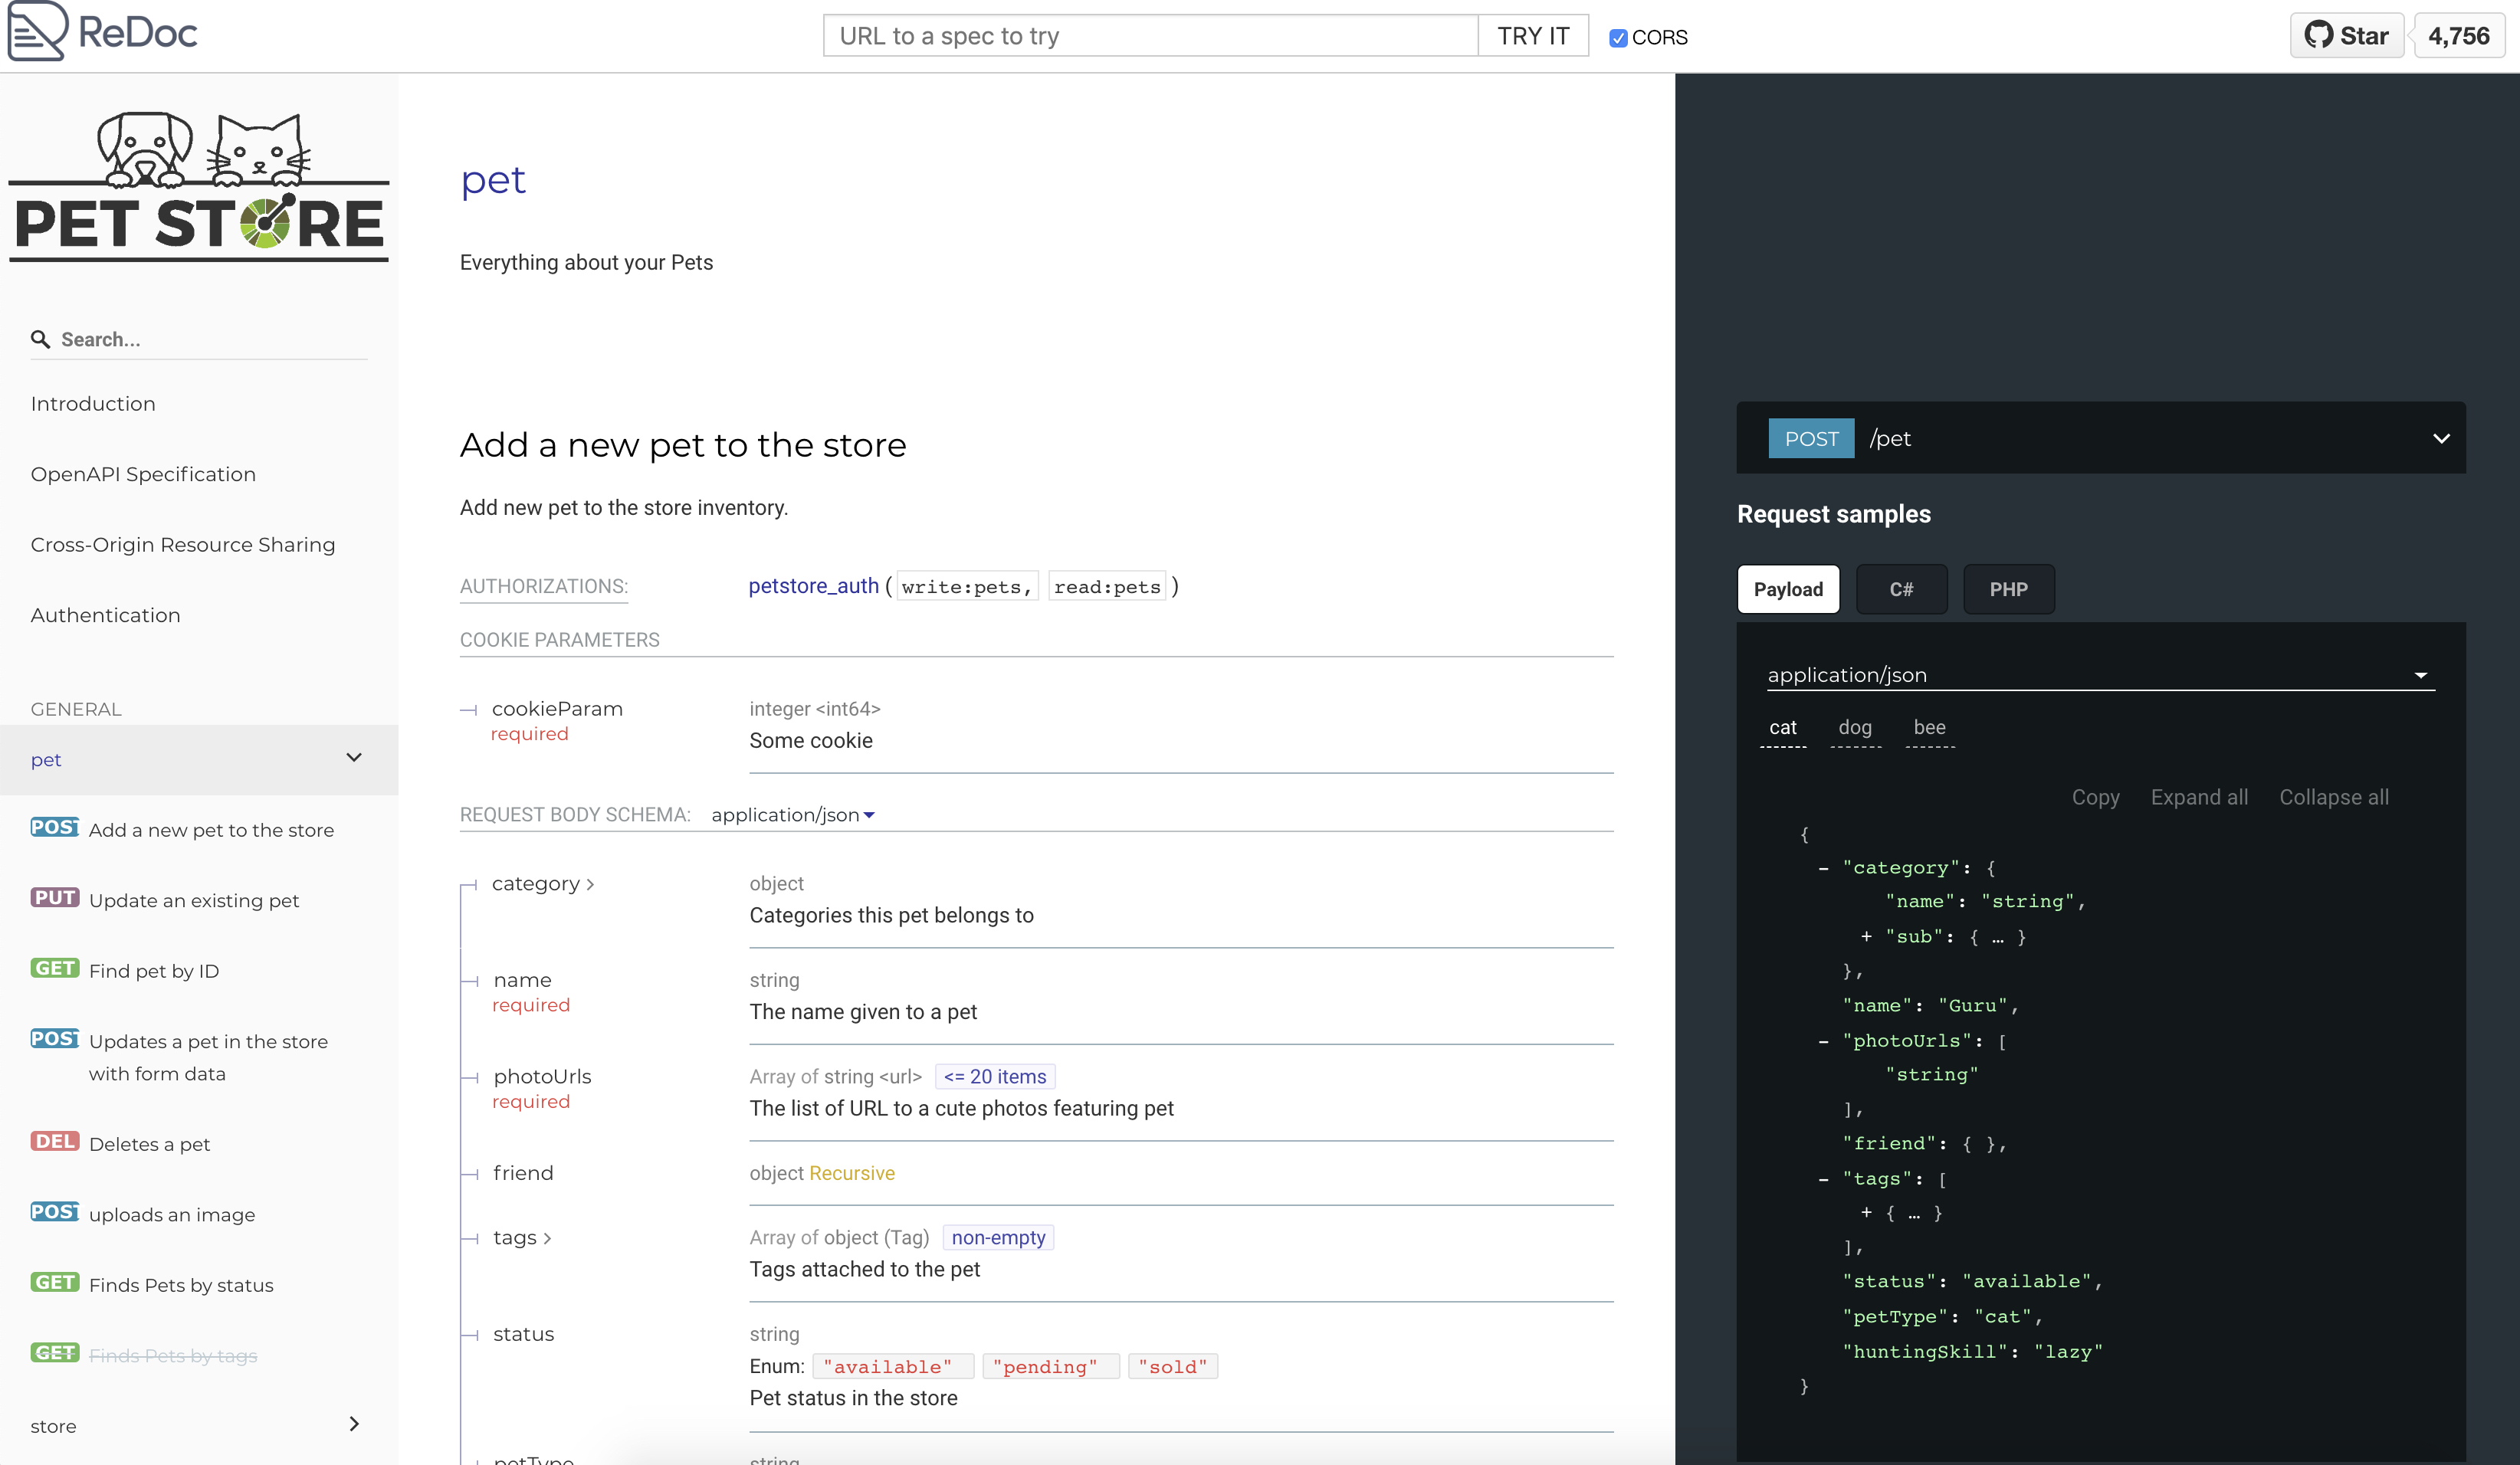
再開始之前,大家可以先參考一下 ReDoc 提供的 Demo作品。

使用 Swagger UI
這邊將以cpay-core_service為例。
- 在 core_service 的
pom.xml,增加 dependency
1 | <dependency> |
- 在
CpayCoreApplication增加@EnableSwagger2Doc
1 | @SpringBootApplication |
- 將
openapipackage 添加為 swagger scan 項目
1 | swagger.base-package: com.grd.cpay.core.openapi |
調整 spring security 設定,調整
CpayWebSecurityConfigurerAdapter需要將
/v2/api-docs加入不需要授權允許進入,另外cors也需打開。1
2
3
4
5
6
7
8
9
10
11
12
13
14
15
16
17
18
19
20
21
22
23@Override
protected void configure(HttpSecurity http) throws Exception {
http.csrf().disable().cors()
.and()
.authorizeRequests()
.antMatchers("/v2/api-docs").permitAll()
.and()
.authorizeRequests().antMatchers("/console/**").access("hasRole('ROLE_ADMIN')").anyRequest().authenticated()
.and()
.formLogin()
.loginPage("/")
.loginProcessingUrl("/login").permitAll()
.successHandler(cpayAuthenticationSuccessHandler())
.failureHandler(cpayAuthenticationFailHandler())
.and()
.logout()
.logoutUrl("/logout")
.logoutSuccessUrl("/")
.and()
.httpBasic();
}將靜態資訊 ignore
1
2
3
4
5
6
7
8
9
10
11@Override
public void configure(WebSecurity web) throws Exception {
web.debug(true);
web
.ignoring()
.antMatchers("/actuator/**" ,"/openapi/**","/payment/**","/loginErr/**", "/forgotpwd/**", "/bootstrap/**", "/dist/**", "/fastclick/**", "/font-awesome/**", "/Ionicons/**", "/jquery/**", "/plugins/**", "/datatables/**");
web.ignoring().antMatchers("/configuration/ui", "/swagger-resources", "/configuration/security",
"/swagger-ui.html", "/webjars/**", "/swagger-resources/configuration/ui", "/swagger-ui.html",
"/swagger-resources/configuration/security","/resources/static/docs/");
}設定config允許
cors1
2
3
4
5
6
7
8
9
10
11
12@Bean
public CorsConfigurationSource corsConfigurationSource() {
CorsConfiguration config = new CorsConfiguration();
config.addAllowedHeader("*");
config.setAllowedMethods(Arrays.asList("GET", "POST", "PUT", "DELETE", "PATCH", "OPTIONS"));
config.setAllowCredentials(true);
config.addAllowedOrigin("*");
config.setMaxAge(3600L);
UrlBasedCorsConfigurationSource source = new UrlBasedCorsConfigurationSource();
source.registerCorsConfiguration("/v2/api-docs", config);
return source;
}
完整程式請參考如下:
- 設定需要產生在 swagger 上的 api,請參考
CpayOpenApiController
1 | @RestController |
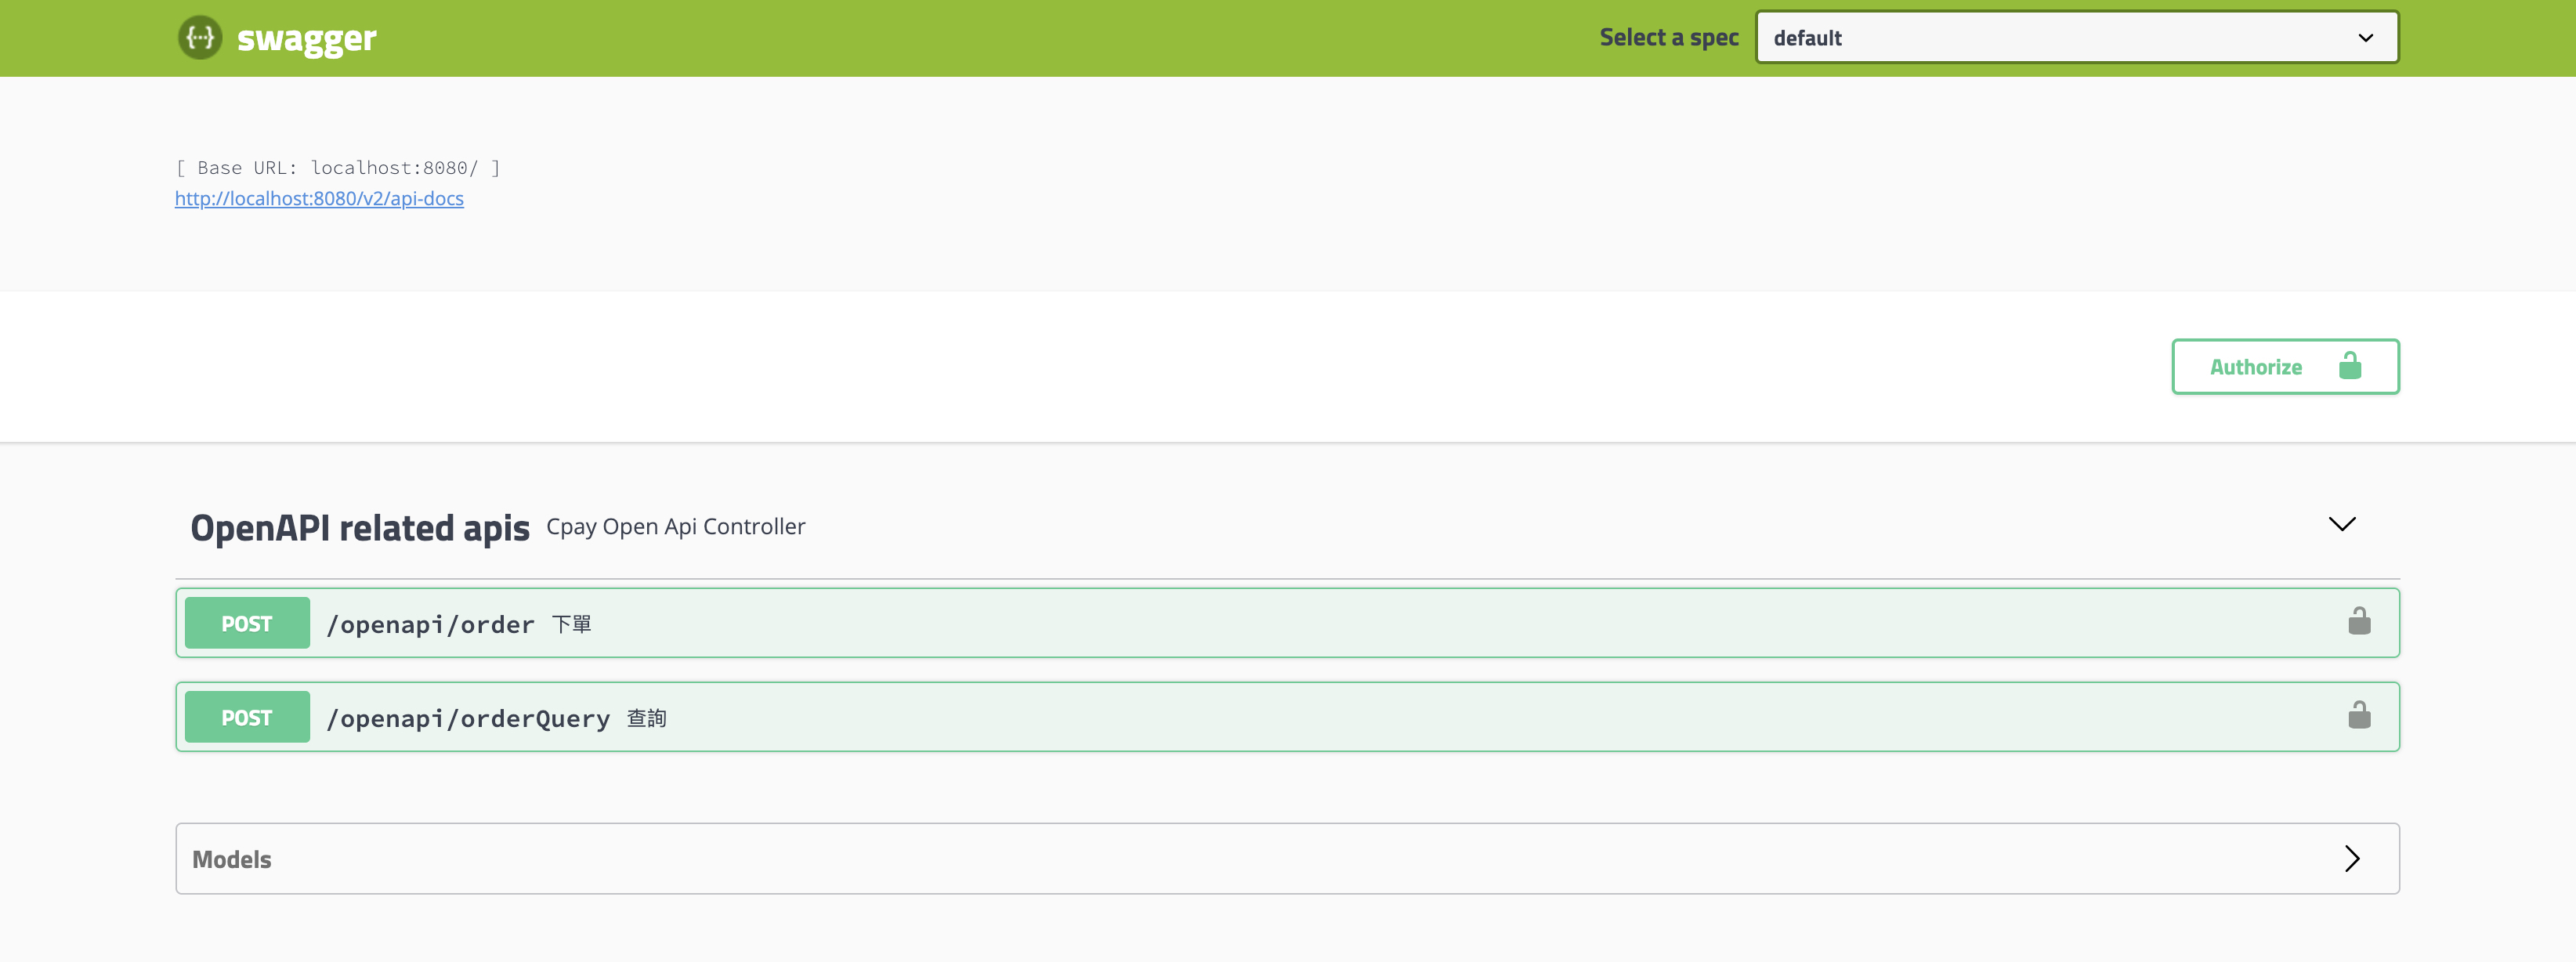
- 啟動 Service,並驗證

使用 ReDoc
這次的教學,我們將採用 Docker 的做法進行示範。
- 首先,我們先 pull image
1 | docker pull redocly/redoc |
- 啟動
1 | docker run -p 9090:80 -d -e SPEC_URL=http://localhost:8080/v2/api-docs redocly/redoc |
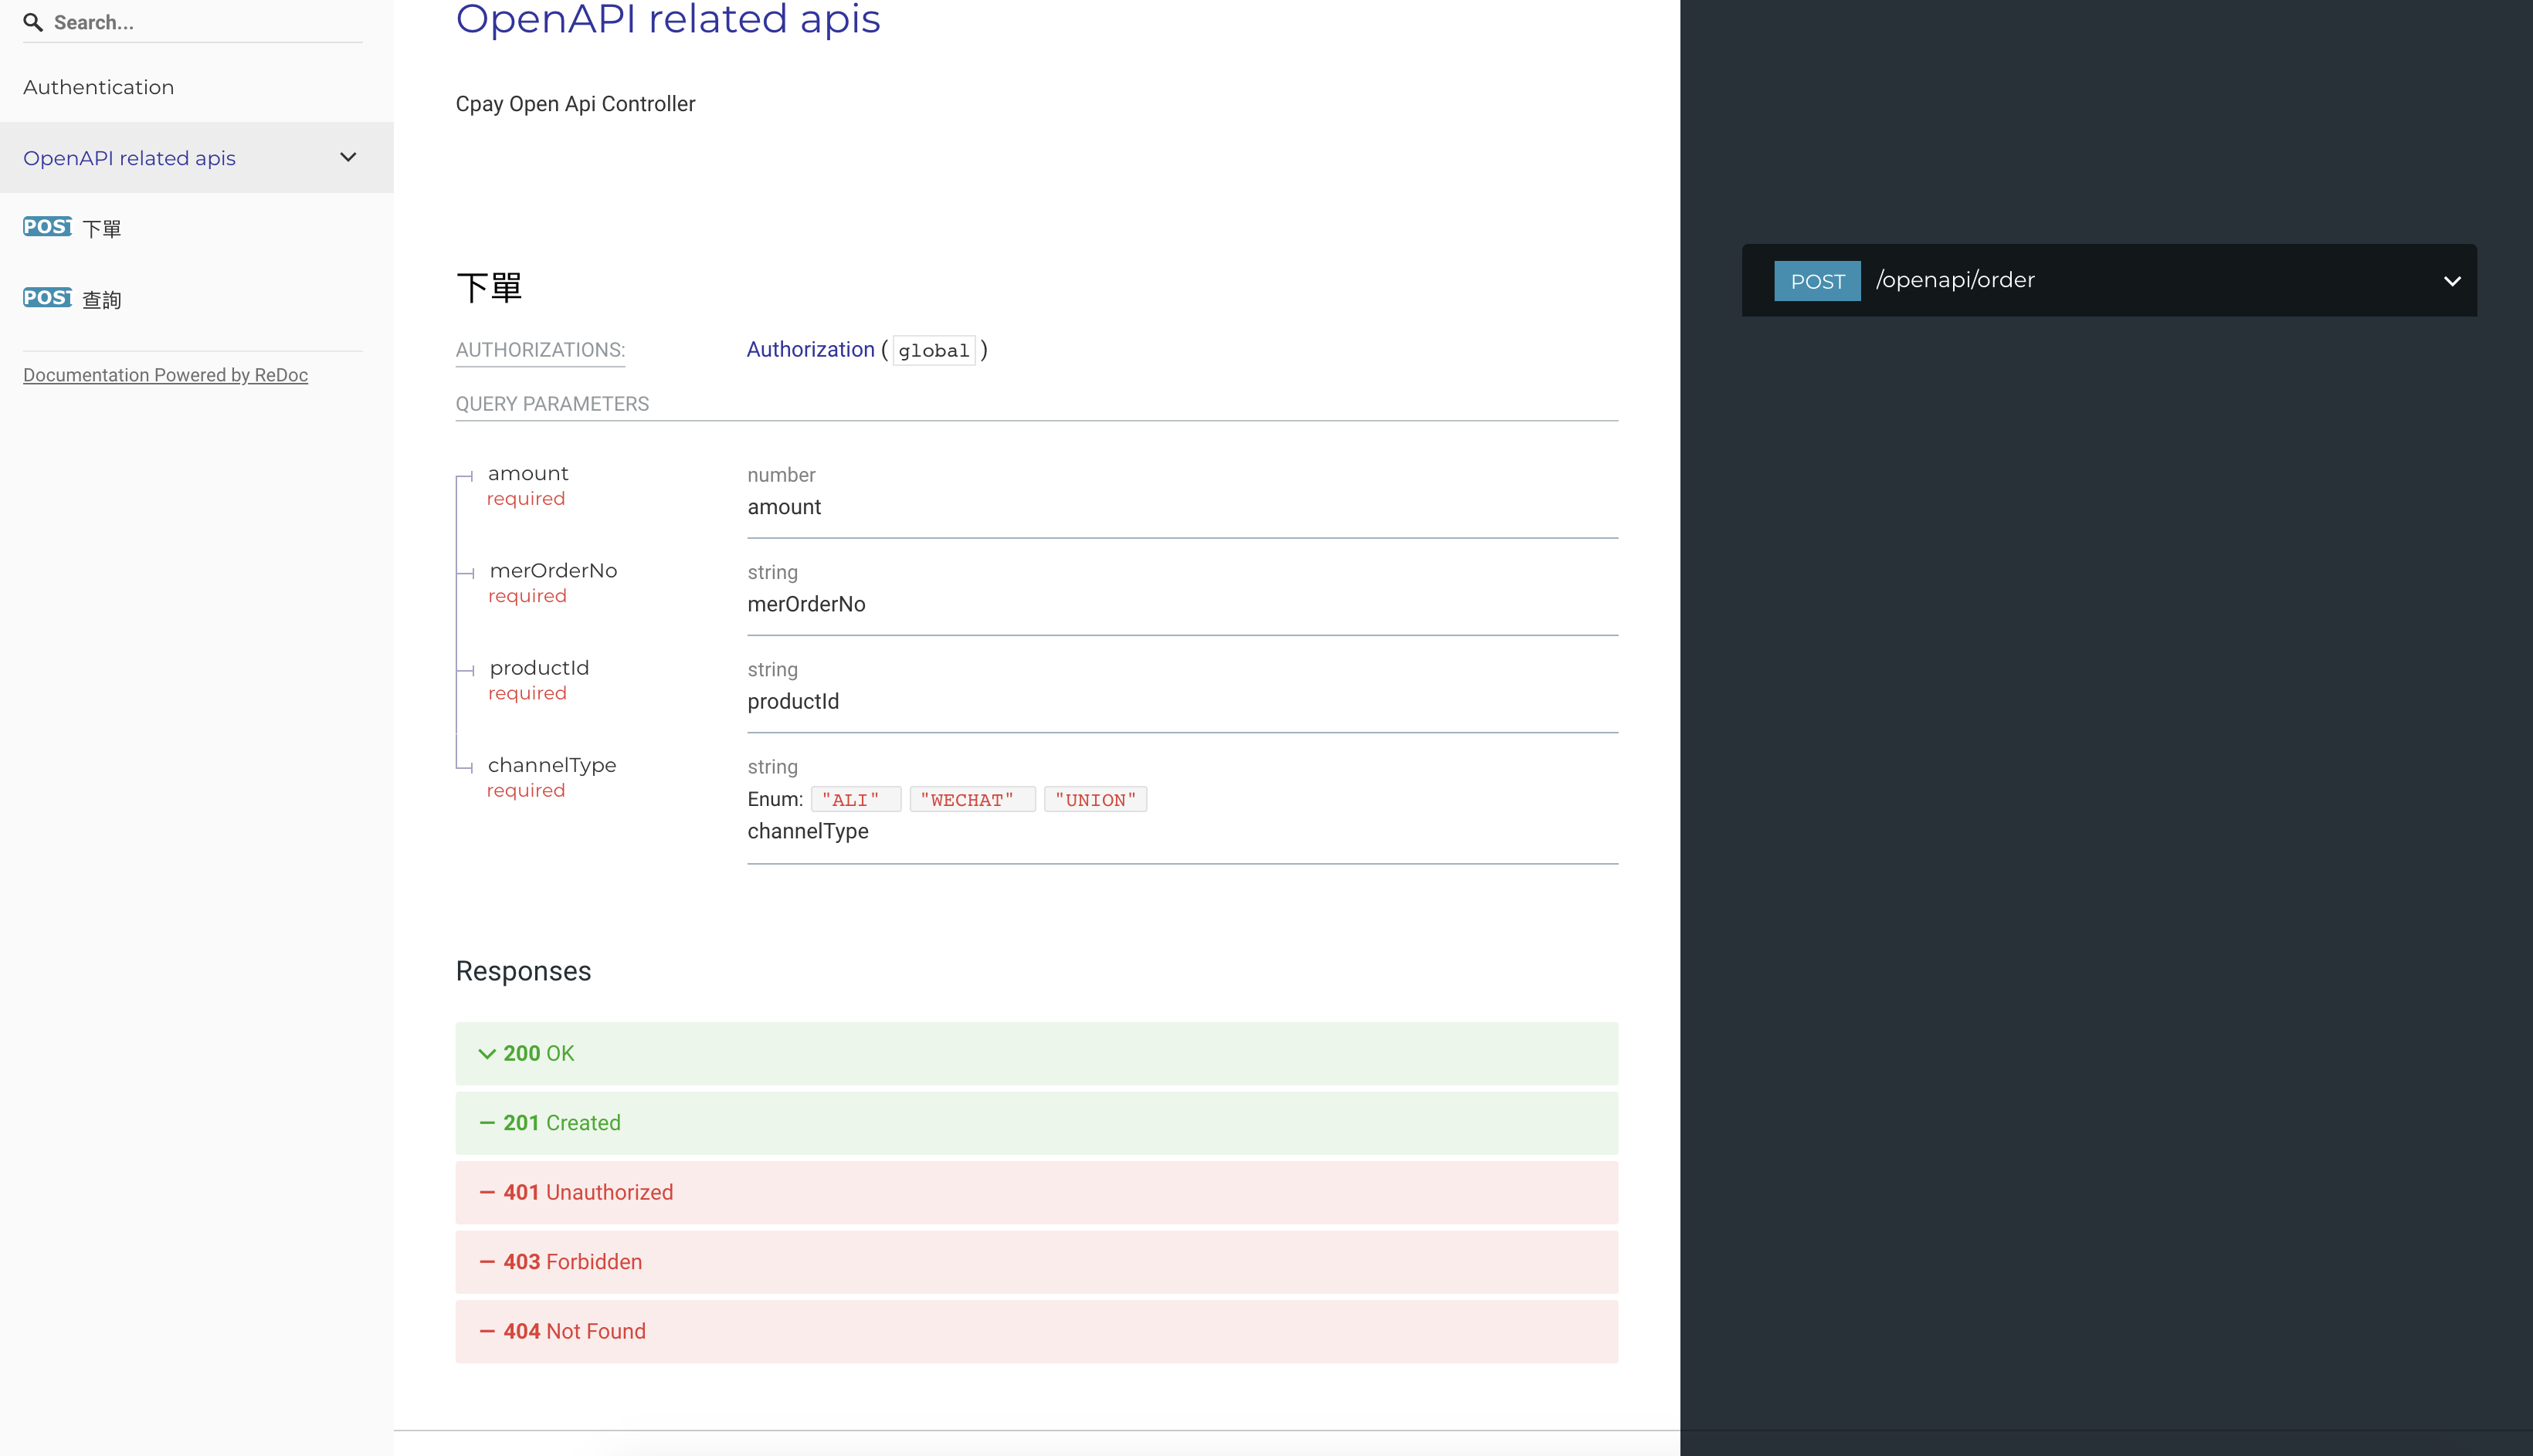
- 驗證

ReDoc 進階使用
- 進入 Docker Container 內
1 | docker exec -it redoc sh |
- 可修改相關頁面,如
favicon.png,相關路徑如下:
1 | cd /usr/share/nginx/html |
Reference
Donate
謝謝您的支持與鼓勵